The Background of Charlie Checkpoint

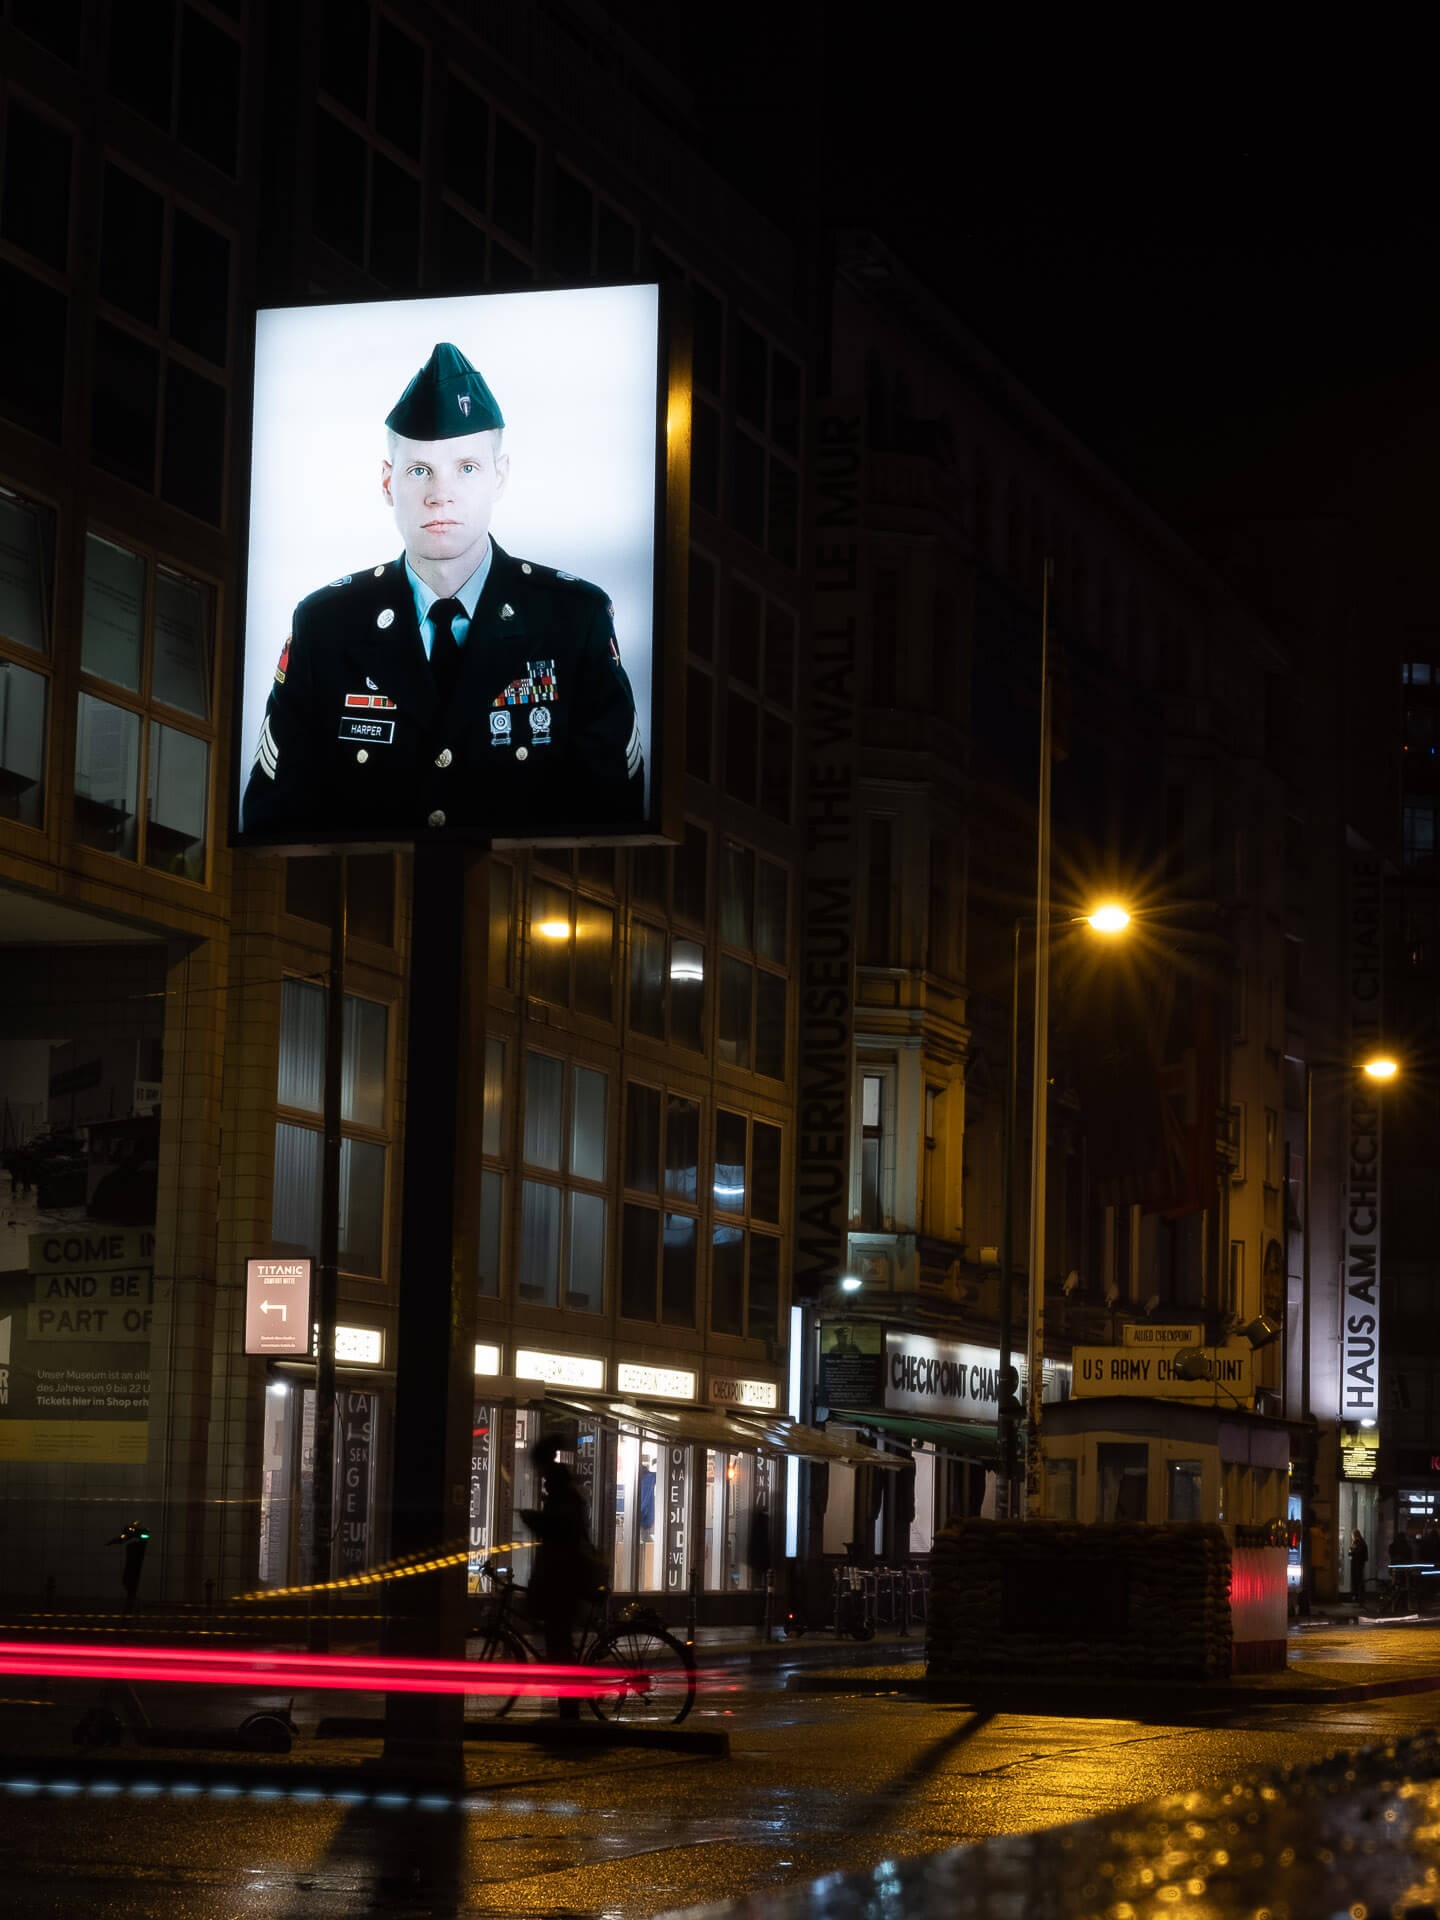
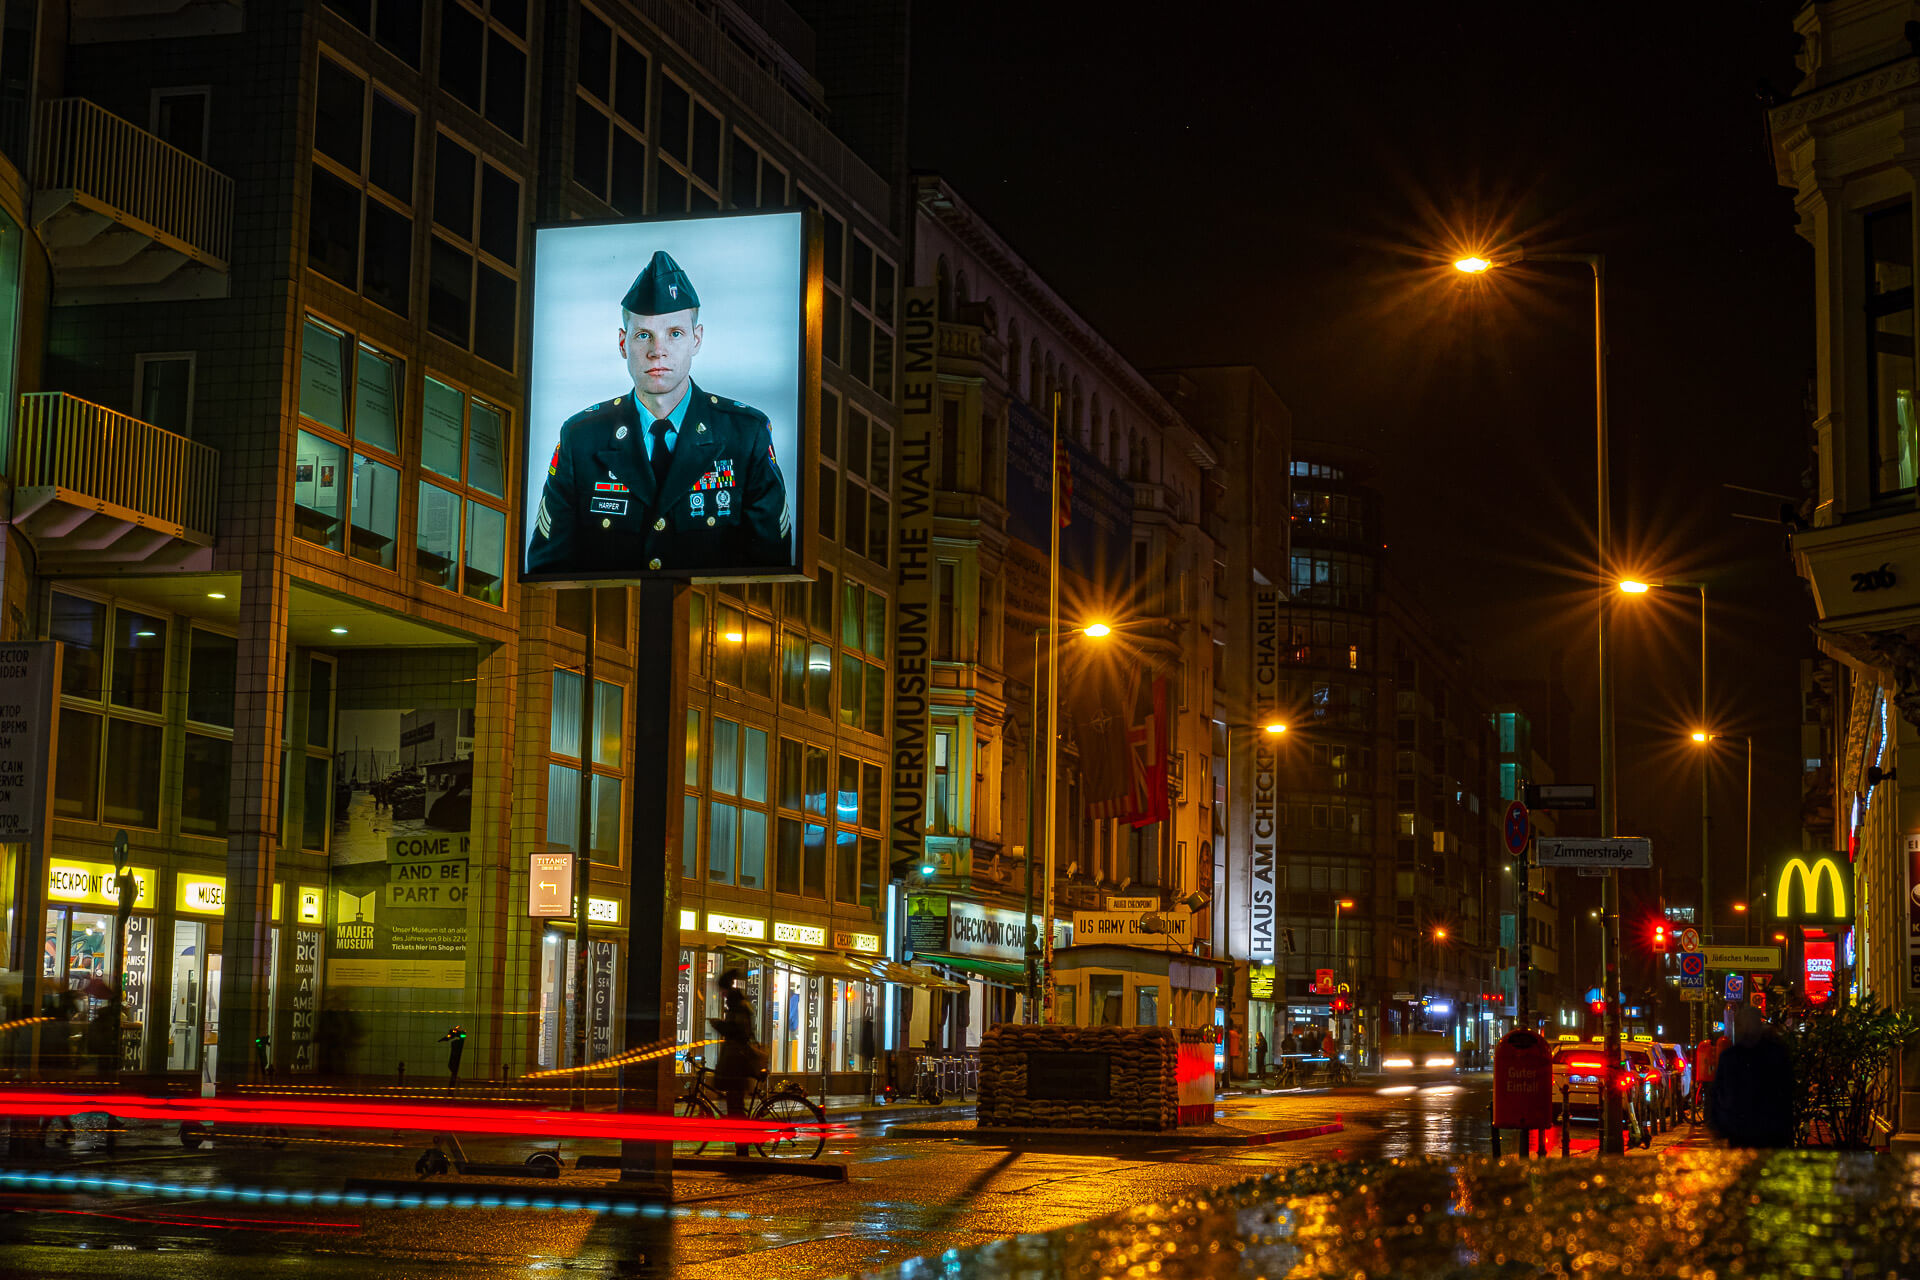
When we made our research regarding the (countless) places that we should visit in Berlin we found the Charlie Checkpoint, a Cold War East-West border landmark. Watching the billboard in the photo, and live, I thought that the soldier’s name in the billboard is Charlie. Well. It is not.
The Checkpoint is named “Checkpoint C” and the “Charlie” comes from the NATO Phonetic Alphabet which goes “Alpha, Beta, Charlie, Delta, Echo” and so on. His name is Sgt. Harper. The truth is that he never guard Charlie Checkpoint even though he was in the U.S. Army in Berlin from 1989 to 1994.
The Frame
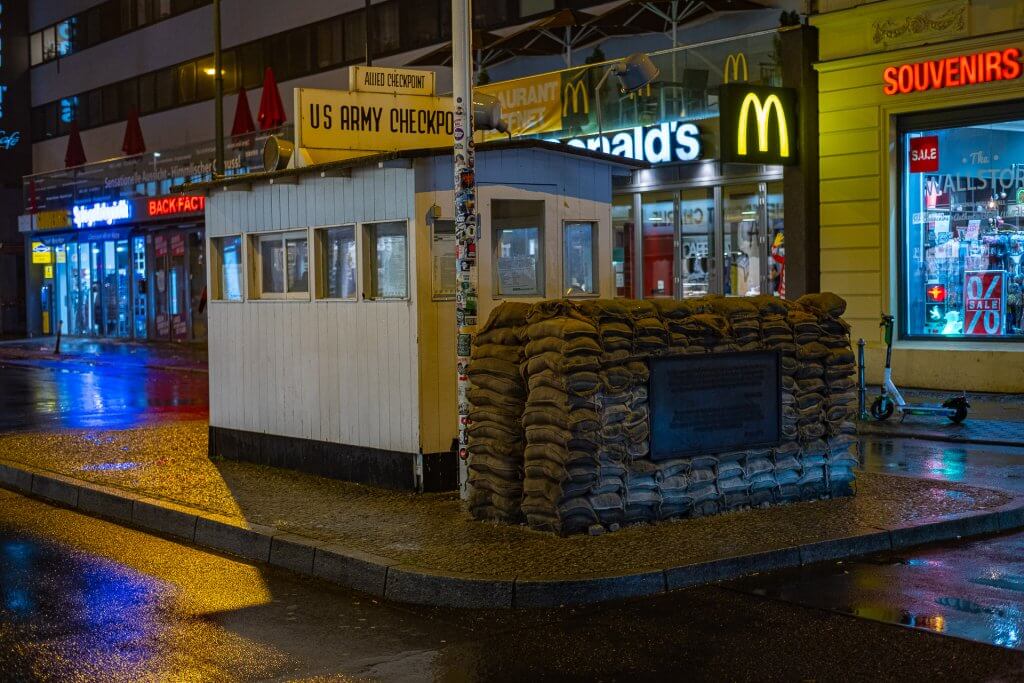
Many they will say that MacDonald’s shiny sign is messing the photo. We will disagree even if we are not fans of the famous store! The MacDonald’s were not always there but is good to include them in the frame.
They opened their store in the West Side of Charlie Checkpoint, which actually was the American Sector. This way we can easily orient ourselves.
Actually, it is a kind of tradition opening Macdonalds in sensitive locations like in Windsor Castle in Britain area, in the same building as Prague’s Museum of Communism, and in the US naval base in Guantanamo Bay.
The camera settings for night photoshooting of Checkpoint Charlie
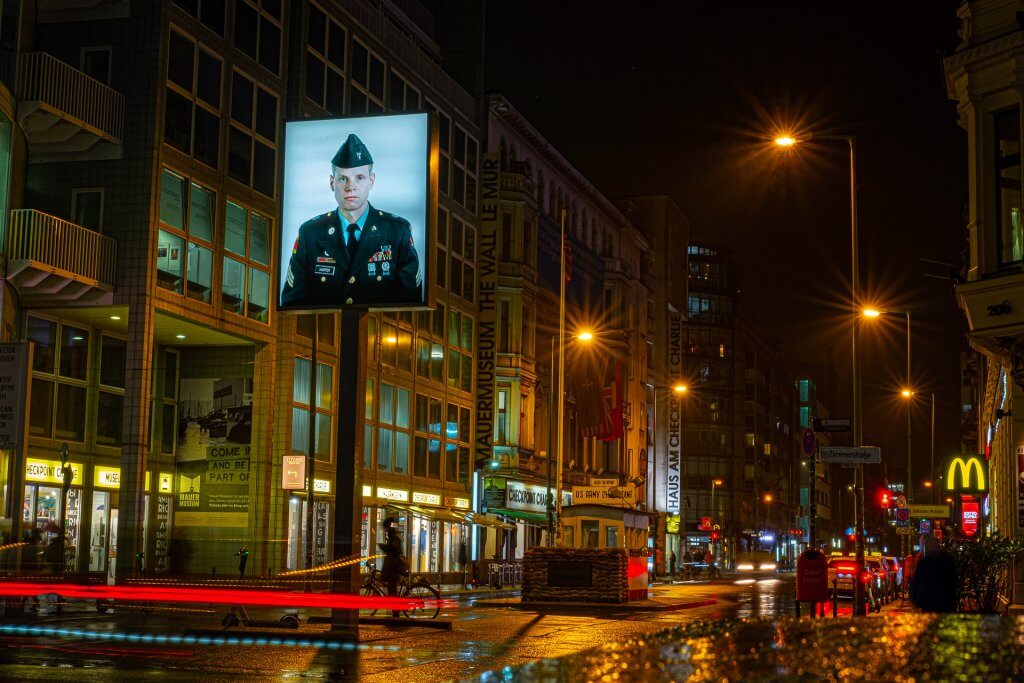
And here is the challenge! You will manage a couple of difficulties when you will try to photoshoot the Sgt. Harper on the illuminated billboard during the night. This is because in the automatic settings of your camera when you are focusing on the billboard you get a perfect photo of Sgt. Harper but everything else in the photo is totally dark!
On the other side when you have a multi-focus setting of the area you will have a nice outcome of the field but the billboard will be like a lamp! This means prepare to go manual but we will keep it simple like Aventine Keyhole Photo shoot challenge.
Sightseeing photo shooting during the nights needs a tripod. Or let’s say better is obligatory to find a stable place to put our camera. Even the slightest movement will be captured in our photo making it blurry something that we do not want at all.
Set a camera delay of 2 seconds. This way the camera will start making the photo when you will have your hand removed from the trigger. In case that you have a remote trigger or live view from your smartphone, you will not need to set a countdown.
Turn into manual focus and focus to the billboard. We want the clearest part of the photo to be the soldier.
Set your ISO, the sensitivity of your camera to the light, stable-locked to 100-200. Usually the lower value the better.
Set your aperture to its smaller value. Remember is the setting that defines how much your shutter will “open” and how bright your photo will come.
Last but not least adjust the shutter speed. It is the setting that defines how long your camera will have its shutter open. At this point, you will need to experiment and try different timings until you will get the result that you want. Remember that it is better for the photo to be dark than washed as we can bring the dark details to the light but not the opposite!
Editing the photo
Many photographers out there will never share with you the real photo only just after finishing editing it. This way mistakenly we all think that the expensive equipment made the photo as it is when it is not always like this.
Making simple adjustments in software like Gimp or Lightroom we will acrually bring the scene look like almost the way it is in reality, sometimes even better!
Pin it for later ⇟



Leave a reply